Getting voice acting right makes the difference between a forgettable character and one players remember long after they finish playing. We’re talking about clear dialogue, authentic performances, and the technical quality that doesn’t pull players out of the moment. It’s not complicated, but it does require planning, the right setup, and knowing what to listen for during recording sessions.
Setting Up Your Recording Space
The space where you record matters more than most people think. You don’t need a professional studio — you need a space that controls unwanted sound. That means reducing echo, blocking outside noise, and minimizing background hum.
Start with a small room. A bedroom or closet works better than a large open space because smaller rooms naturally absorb sound more effectively. Add soft materials: blankets, foam panels, or acoustic foam. Position them around the recording area, especially behind and to the sides of the microphone. We typically see actors working in a space roughly 2 meters by 2.5 meters, treated with basic absorption materials. The goal isn’t perfection — it’s removing distracting reflections and outside noise.
Key detail: A closet with clothes acts as free acoustic treatment. If you’re starting out, hang blankets and record there. Most people won’t hear the difference between that and expensive foam panels.
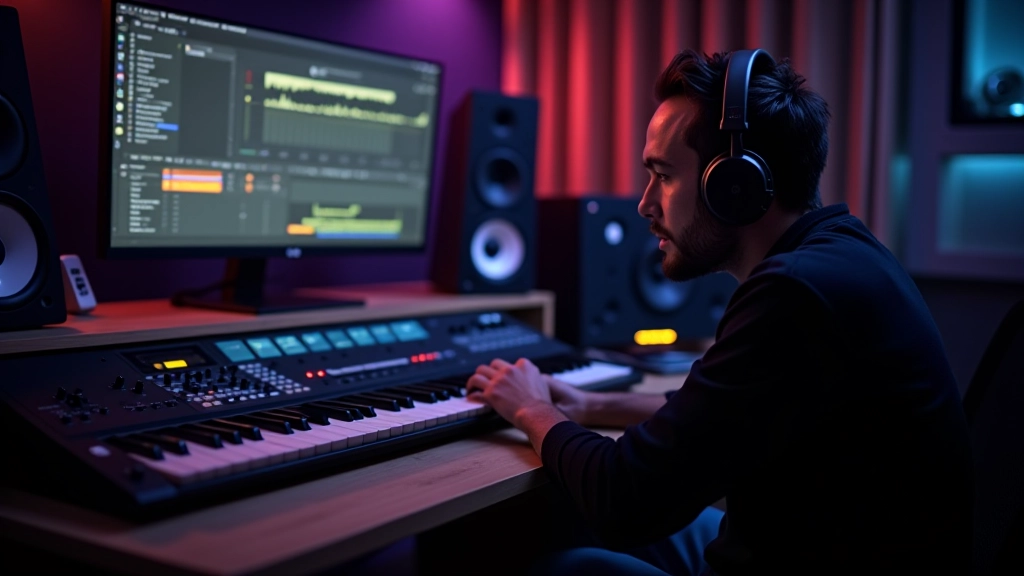
Choosing the Right Microphone and Equipment
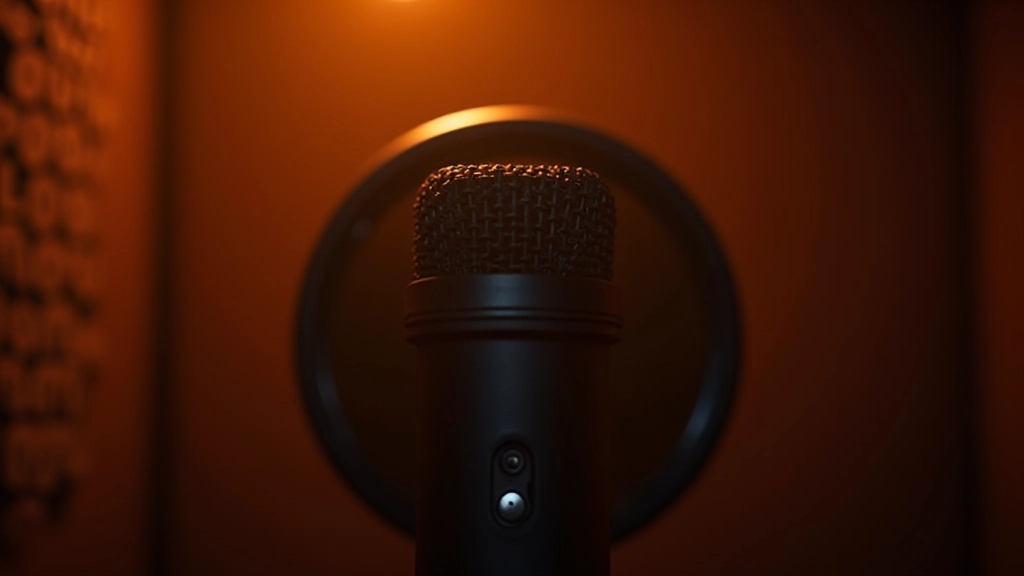
You’ll want a condenser microphone — they’re sensitive enough to capture the nuances in voice acting. A large-diaphragm condenser (typically 1 inch or larger) works well for dialogue because it picks up warmth and presence without sounding harsh.
Beyond the mic itself, you need three things: an audio interface (connects your mic to your computer), an XLR cable, and a pop filter. The pop filter prevents plosives — those harsh “p” and “b” sounds that can ruin a take. Position it about 6 inches from the microphone. Most setups cost between $300-$800 to start. You don’t need the most expensive gear — you need something reliable that sounds clean.
- Microphone: Large-diaphragm condenser, 2-3 pattern options
- Audio interface: 2-4 input channels, decent preamps
- Cables: Quality XLR cables, 15-25 feet minimum
- Pop filter: Essential for dialogue clarity
Important note: The information provided here is educational in nature, designed to help you understand voice recording techniques used in game audio production. Audio quality depends on many variables including equipment quality, room treatment, microphone technique, and post-processing. Results will vary based on your specific setup and circumstances. For professional voice-over work requiring broadcast-quality audio, consider consulting with experienced audio engineers.
Recording Technique and Microphone Placement
How you position yourself relative to the microphone affects everything. Most voice actors work 6-8 inches away from the mic, at a slight angle rather than straight on. This distance captures your voice naturally without overwhelming the microphone with breath and plosives.
Consistency matters. If an actor moves around during recording, their distance from the mic changes, and so does the recorded level and tone. That’s why having a fixed stand and marking your position helps tremendously. We’ve found that actors who stay consistent through a 3-4 hour session produce cleaner, more usable recordings.
Don’t record everything in one take. Break dialogue into natural phrases or individual lines. This gives actors breathing room and you’ll catch better performances. Plus, shorter takes mean fewer mistakes and less editing work later.
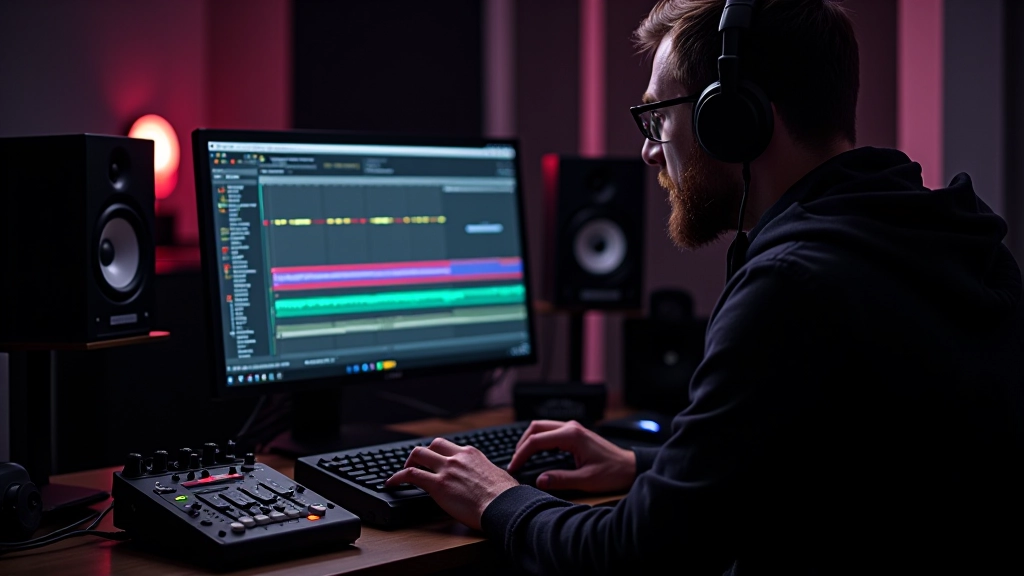
Monitoring Levels and Avoiding Common Problems
Watch your recording levels while capturing dialogue. You want to hit around -6dB to -3dB on your interface meter — loud enough to capture good detail, but with headroom so peaks don’t clip. Clipping ruins a take because you can’t recover that audio information.
Listen actively. Wear headphones and monitor what’s being recorded. You’ll catch background hum, electrical noise, or room reflections that might not be obvious in the moment. If something sounds wrong, stop and fix it. Recording a hundred clean takes is better than trying to fix problems in post-production.
Pro tip: Record at least 2-3 takes of each line. Actors will deliver different interpretations, and having options during mixing gives you flexibility for matching performances to game situations.
Post-Recording: Cleanup and Organization
After recording, you’ve got cleanup work. Remove clicks, pops, and obvious noise. Use gentle high-pass filtering to reduce rumble below 80Hz. Normalize your audio levels so they’re consistent across all takes. This prep work takes time, but it saves you enormous effort later during mixing and integration into your game.
Organization is critical. Label everything clearly — character name, line number, take number, date. If you’re recording multiple characters across multiple sessions, you’ll thank yourself later when you can find what you need instantly. We typically use a simple naming convention: CharacterName_LineNumber_TakeNumber.wav
Quality voice recording isn’t magic. It’s planning your space, choosing reliable equipment, maintaining consistent technique, and listening carefully to what you’re capturing. When you get it right, players connect with your characters because the dialogue feels real, immediate, and authentic. That’s worth the effort.